
Intraoral Sensor Size 1 vs. Size 2: Which Do You Need?
· David Hanning
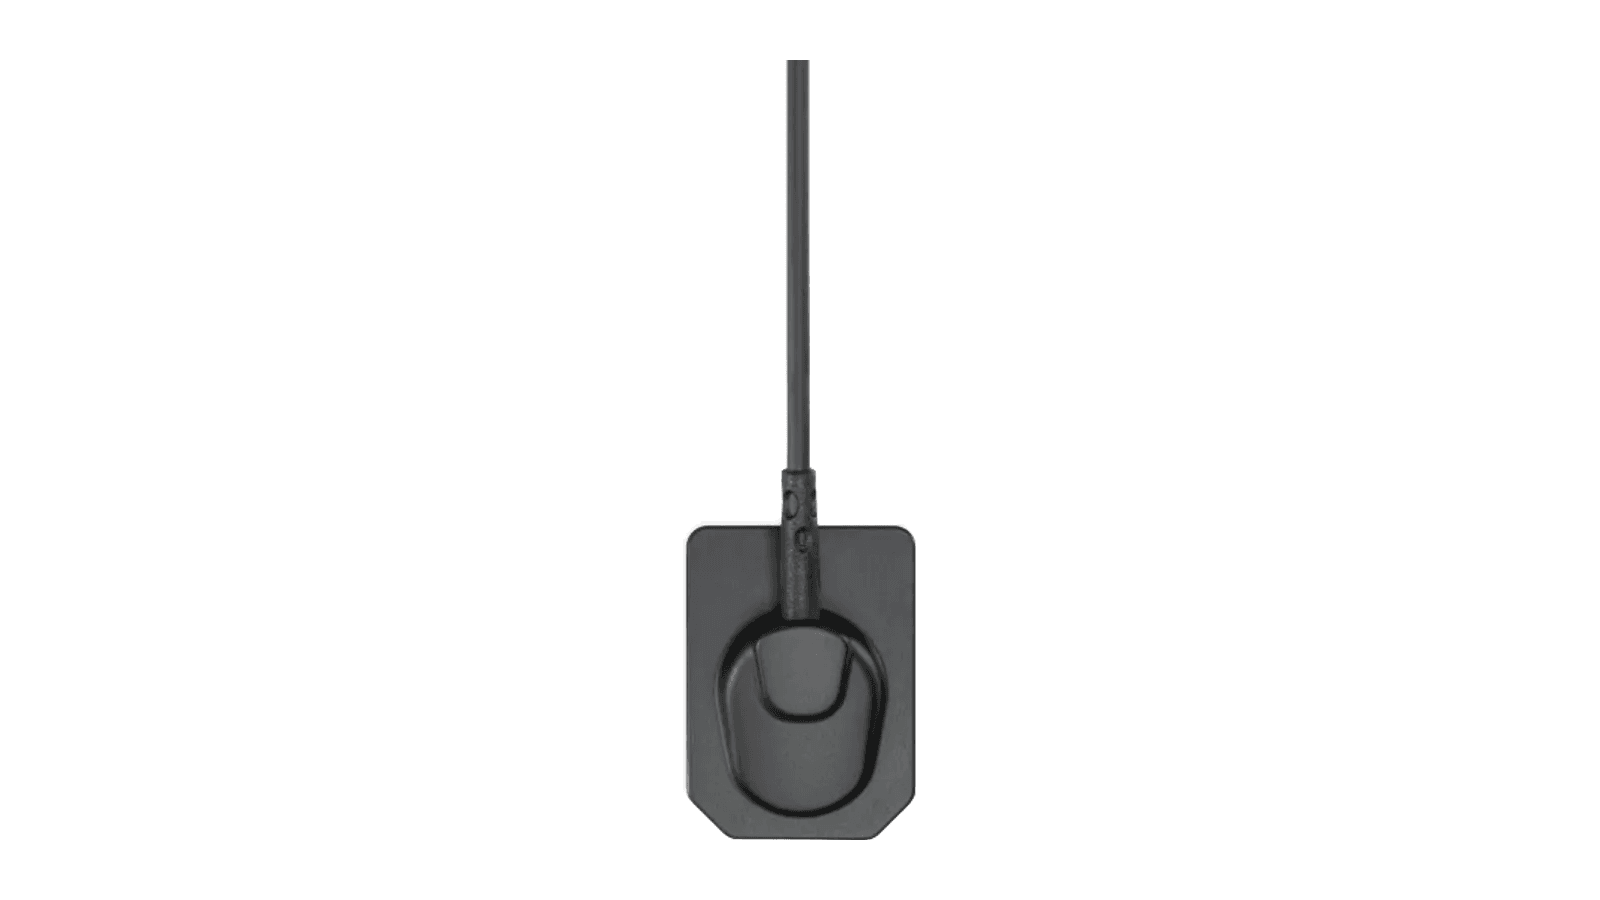
Most practices don’t choose a sensor size. They inherit one. Whatever came in the box when the last sensor was purchased becomes the size every operatory uses, for every patient, for every placement, until someone asks why the eight-year-old in chair 3 keeps gagging on a sensor built for a molar on a grown adult.
Size 1 vs. Size 2 is a real, practical decision — one that affects patient comfort, retake rates, and how you equip operatories, not just a spec sheet detail. It’s worth five minutes of actual thought rather than defaulting to “whatever we already have.”
What Size 1 and Size 2 Actually Mean
The size number refers to the physical footprint of the sensor’s active imaging area — the part that has to fit inside a patient’s mouth and stay positioned long enough to capture a usable image.
On Imagen, the wired sensor in Dental TI’s catalog that’s available in both sizes, the numbers break down like this:
- Size 1: 1110×1666 active pixels, 20×30 mm active sensor area
- Size 2: 1442×1998 active pixels, 26×36 mm active sensor area
Both sizes share the same 18 µm pixel size, 27 lp/mm resolution, 4.8 mm sensor thickness, 2.7 m USB 2.0 cable, and IP68 ingress protection. The image quality characteristics don’t change between sizes — what changes is footprint. Size 2 covers roughly 55% more active area than Size 1, which is the difference between a sensor built to capture a full posterior view on an adult and one built to fit comfortably where space is tight.
DC-Air™, Dental TI’s wireless direct-conversion sensor, ships in Size 2 only. That’s a deliberate design point worth knowing before you standardize a wireless rollout around it — see the sizing strategy below.
| Imagen Size 1 | Imagen Size 2 | DC-Air™ (Size 2 only) | |
|---|---|---|---|
| Active sensor area | 20×30 mm | 26×36 mm | 35.1×24.7 mm |
| Active pixels / resolution | 1110×1666 px | 1442×1998 px | 1,249,920 px (12-bit) |
| Pixel size | 18 µm | 18 µm | 26 µm |
| Connection | Wired, direct USB | Wired, direct USB | Wireless, Bluetooth® LE |
When Size 1 Makes Sense, and When Size 2 Is the Default
Size 1’s smaller footprint is built for situations where mouth size and positioning tolerance are the limiting factor, not image coverage:
- Pediatric patients, where a Size 2 sensor simply doesn’t fit comfortably or triggers a gag reflex before it’s positioned
- Patients with smaller mouths or limited opening — some adults included, not just children
- Certain anterior and premolar placements, where the smaller sensor is easier to seat correctly on the first try
Size 2 is the standard adult size, and for good reason. Most posterior placements benefit from the larger active area, and it’s the size most general practices stock as their default because it covers the bulk of the adult patient population without a size change mid-appointment. If your practice is only going to stock one size, Size 2 is almost always the right one — Size 1 is the addition you make for the patients Size 2 doesn’t serve well.
A Per-Operatory Sizing Strategy
The mistake most practices make isn’t picking the wrong size — it’s assuming every operatory needs identical equipment. They don’t.
Dental TI’s own sensor comparison page lays out a pairing strategy that a lot of practices land on once they stop treating sensor size as a one-time purchase decision: put DC-Air™‘s wireless Size 2 sensor in the busiest general operatories, where cord-free positioning speeds up high-volume adult workflows, and keep an Imagen Size 1 sensor available — either in a pediatric-focused operatory or as a shared unit — for the patients who need the smaller footprint. As that page puts it, “Many practices pair them — for example, a DC-Air™ in the busiest operatories and Imagen sensors elsewhere, or Imagen Size 1 for pediatric patients alongside a Size 2 DC-Air™.”
The logic holds beyond that specific pairing. A four-operatory general practice with a pediatric day or a meaningful kids’ patient base doesn’t need four identical sensors — it needs a plan for where Size 1 lives and how staff get to it without disrupting the operatories running Size 2 all day. That’s an equipment layout decision, not just a purchasing one, and it’s worth making before you buy rather than after a hygienist has spent a month improvising.
If you’re also weighing wired versus wireless for the sensors themselves, the sensor comparison page is the deeper resource — it covers the technology tradeoffs directly. This post is specifically about getting the size right once you know which sensor line you’re buying into.
Why Fewer Retakes Is the Real Payoff
Sensor size affects comfort and positioning tolerance more than it affects image quality. That sounds like a minor distinction until you count what a mis-sized sensor actually costs in the chair.
A Size 2 sensor that’s too large for a pediatric patient or a smaller adult mouth doesn’t just cause discomfort — it increases the odds of gagging or a positioning failure, which means the image has to be retaken. A retake isn’t just an inconvenience; it’s a second exposure for the patient. Sizing the sensor to the patient, rather than to whatever’s already mounted in that operatory, is a small decision with a direct, measurable payoff: fewer retakes, less re-exposure, and a smoother appointment for both the patient and the clinician holding the sensor in place.
It’s a small line item on a purchase order. It’s not a small factor in how many times you have to ask a nervous kid to hold still for a second X-ray.
Get the Sizing Right for Your Operatories
If you’re planning a sensor purchase and haven’t mapped out which operatories actually need Size 1 versus Size 2, that’s a conversation worth having before the order goes in, not after.
- See full specs and both sizes on the Imagen sensor page
- Learn about Dental TI’s wireless Size 2 sensor on the DC-Air™ page
- Compare wired versus wireless in depth on the sensor comparison page
- Talk through your operatory-by-operatory sizing plan on the contact page